
General recommendations and best practices for growing chilli plants
Chillies are extremely simple to grow at home, and don't require any fancy gardening equipment. Since a single plant can give you up to a hundred chillies, they're a perfect addition to the kitchen garden, especially since they grow really well in containers and planters. Growing your own chilli peppers is a great project if you're a container gardener looking to spice things up, want to take on a new gardening challenge, or just love hot peppers and want to have your own supply. Chilli peppers can be grown inside, but you shouldn’t expect your plants or your peppers to be as large as outdoor or greenhouse-grown ones. The key to successfully growing a chilli plant is to ensure it gets plenty of light, heat, moisture, and humidity.


Here are a few tips that I personally follow to plant and grow chilli plants. There are other methods, but I have a very high success rate following these steps.
Preparing the dried seeds
Place the dried seeds in a container or jug filled with cold Camomile tea. Regular Rooibos will work too. Let it sit for 12 hours minimum. Allow the seeds to absorb moisture which will kickstart the germination process. I don't do the cottonwool or damp papertowl methods. I personally think that it is a waste of time doing it that way. There is a high probability of one hurting or damaging the seedlings when seperating them from the damp papertowl.
Sowing
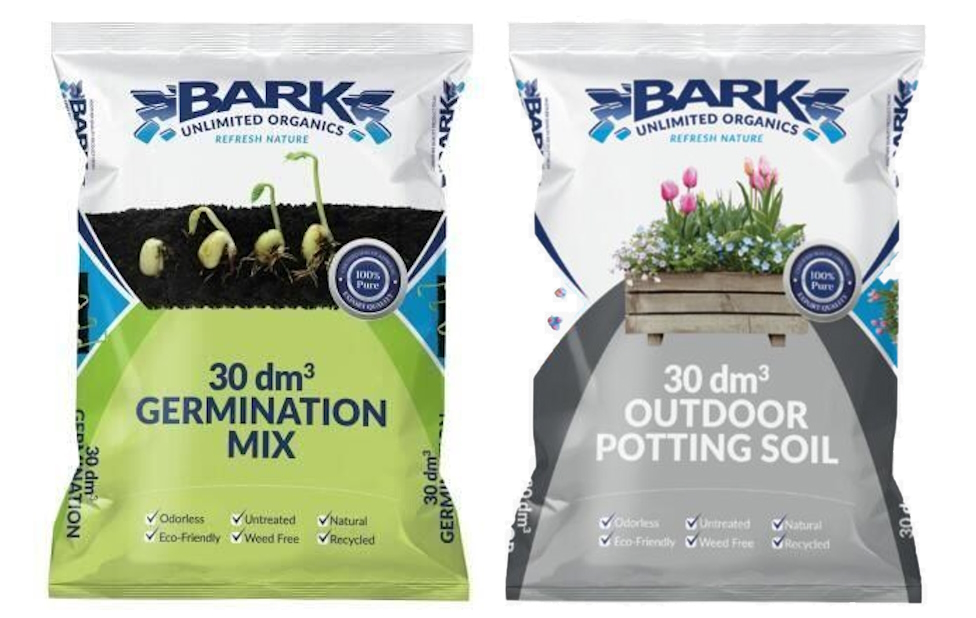
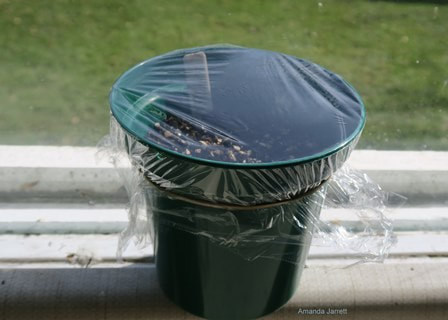
Plant your chilli seeds from late winter to mid-spring. An early start will give you earlier and longer harvests. Chillies generally need a long growing season. Fill a small pot with 20% river sand, 10% garden soil and 70% germination mix. (I use Bark Unlimited Organics Germination mix. Works wonders) Mix well and firm gently once in the pot. Then sow 2 seeds per pot and cover them with the above mentioned mixture. The planted seeds must not be deeper than 5mm. This is very important. No deeper than 5mm. Water lightly and cover with 2-3 layers of cling-wrap to raise the humidity. You can use packaging tape to tightly seal the cling-wrap to the pot. Seeds will germinate quicker in a heated propagator at 25 - 30°C, or simply put the pots on a warm windowsill. During the germination process, it's generally a good idea to provide your chilli seeds with indirect sunlight rather than direct sunlight. Direct sunlight can be too intense for germinating seeds and may lead to overheating or drying out. Remember that hotter chilli variants require slightly hotter germination conditions. Germination will take anything from 15 – 40 days, depending on the conditions. As soon as the seedlings are about 2cm tall, remove the cling-wrap and move them into semi-shade with adequate natural sunlight. Gradually expose them to more direct sunlight. Start by placing them in a location with morning sunlight, and then gradually increase their exposure over a few days. Water regularly. Do not overwater – just keep the soil moist.
Potting
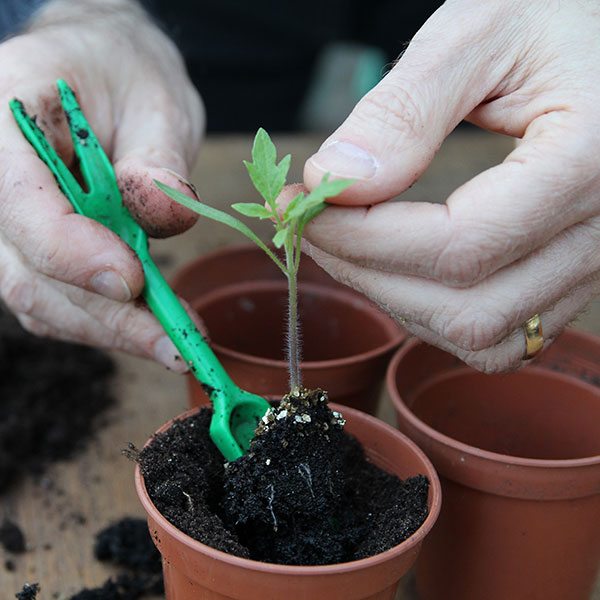
When the seedlings are about 4-5cm tall, move each one into its own small pot of multi-purpose potting soil or premium organic potting mix. Be careful not to damage the newly developed root system. I try to keep the existing soil surrounding root system intact as much as possible. Again, here I use Bark Unlimited Organics outdoor potting soil for best results. If you planted 2 seeds per pod or pot, simply kill off the weaker seedling. Alternatively, carefully separate the two and replant both. Once the roots begin to show through the drainage holes, move them into larger 13cm pots. When the plants are about 15cm tall, move each plant into its final 22cm pot (or bigger) Add wooden rods or canes to keep them stable and upright. The plants will grow and crop best if kept in a greenhouse, polytunnel, conservatory or cold frame. However, in mild parts of the country you can move them outside, once all danger of frost has passed. General tip: a bigger pot will make for a bigger plant...
Planting out
Keep your chilli plants indoors until the night temperature is reliably at least 12°C, usually by mid-August. Then harden off for two weeks by reducing watering to acclimatise them to outdoor conditions. Chillies need your warmest, sunniest spot to produce a crop outdoors. Full sun will bring the best performance from your chilli plant, and your chillies will have the best flavour. They will grow in part sun, but it can become a little leggy or stretched. They grow well in large containers, ideally on a sunny patio or by a north-facing wall. They can also be planted in the ground, into well-drained, fertile, moisture-retentive soil that is slightly acid. To achieve this, dig in moderate amounts of well-rotted manure – at a rate of 5-6kg per square metre – but avoid using fresh manure or large quantities, as this can lead to lush, leafy growth at the expense of fruit. Plant the young chillies in the ground at the same level they were growing in their pot. Space them 60cm apart, depending on the variety. Dwarf varieties can be spaced 30cm apart. Then cover with fleece or cloches to provide wind protection, preferably until the end of September.
Temperature and humidity
Chillies are tender plants that need heat, sunlight and water. Different plants require different levels of humidity. Houseplants that need high humidity are best grown in a steamy bathroom. In a greenhouse, humidity can be raised in hot weather by damping down (wetting) the floor, overhead watering or misting. However, high humidity can cause fungal problems, in which case you'll have to open some vents to improve ventilation. Chilli plants will tolerate a minimum night temperature of 12°C, but will grow better if kept above 15°C. (Mine have endured a stretch of extremely cold winters and made it through unscathed. So, the above are just guidelines) However, temperatures over 35°C can reduce fruiting, so keep your greenhouses well-ventilated and put up shading in hot weather. Chillies like a humid atmosphere, so in hot weather "damp down" the greenhouse twice a day by pouring a full watering can over the floor, then leave it to evaporate.
Watering
Water little and often to keep the soil evenly moist. Avoid waterlogging or drought. (Over or under watering) Add mulch to help hold in moisture. Plants in containers can dry out very quickly, so check them regularly. Flower buds may fall off if plants get too dry.
Harvesting
Chillies are generally ready for harvesting from mid-summer into autumn.
Pluck your chillies when they are matured and ready – normally a bright red in colour. They will change colour from green to yellow or orange, and finally to red and develop a hotter flavour. If chillies are left to ripen on the plant, new flowers won’t be produced, which can lead to a reduction in the overall harvest of 25% or more. Because mature fruits are hotter and more colourful, the smaller harvest is often considered worthwhile. Towards the end of the season, cover outdoor plants with fleece, or bring them indoors, to help the remaining fruits develop.
Feeding
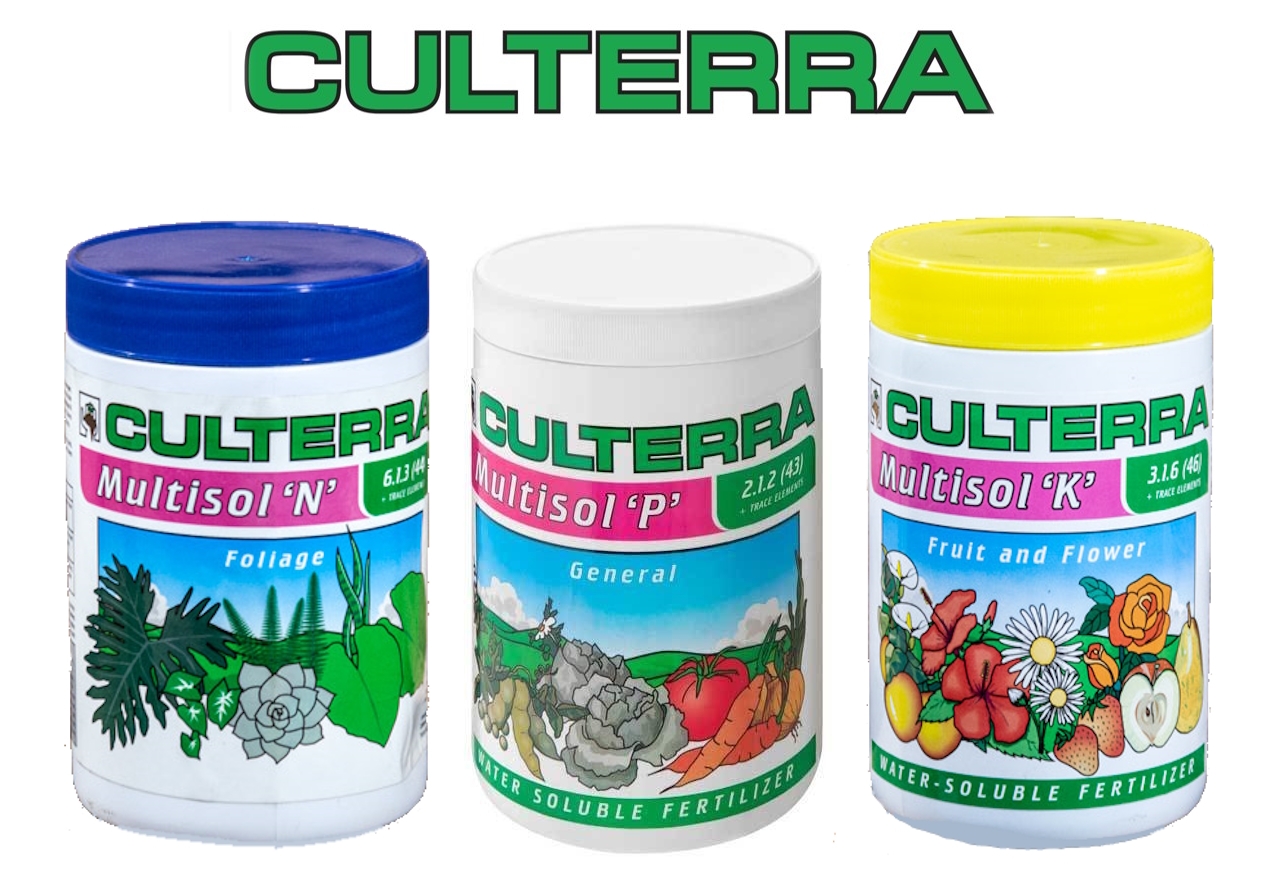
a High Nitrogen and phosphate fertilizer is recommended in the growing stages. The nitrogen will boost the stimulation of growth of foliage, while the phosphates will stimulate growth of the root system. I personally use a mixture of Culterra Multisol N (nitrogen) and Culterra Multisol P (phosphates) for best care and results whilst the plants are in the development stage. As soon as the first flower buds are formed, I then incorporate Culterra Multisol K (potassium) into the mix. Potassium will boost the stimulation of fruit and flower production. At this stage I will stop with the phosphate and only feed them nitrogen and potassium for maximum growth. (50% nitrogen / 50% potassium) Continue to feed them with nutrients once every 8-10 weeks. Culterra products will not break your wallet. These Culterra products are highly recommended - personally tried and tested with great results. I firmly believe in them. I am punning their products because it works. Simple as that. I want you to be successful in growing your own chilli plants. That is why I am giving you the best information and growing advice that I possibly can.
Insecticides
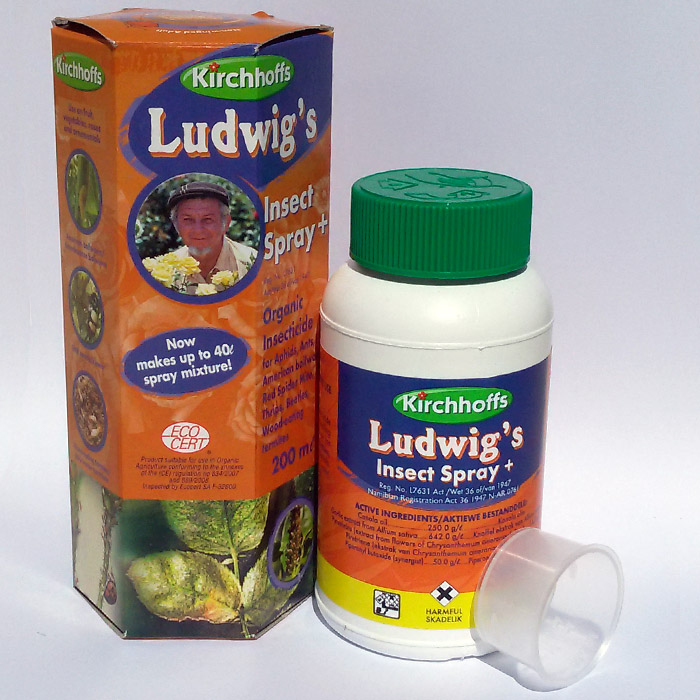
Pests love pepper plants because of its sweetness. Simply watch out for the signs of pest damage and treat the plants immediately. For a more environment friendly approach, a solution of soapy water, neem oil, or garlic spray can be used, or remove the caterpillars by hand. Controlling pests with the proper pest control remedies is your best bet. I personally use Ludwig's Insect Spray + (Kirchhoffs) on all of my plants. Not just my chillies - on every plant in and around my house. It is completely organic and does the job seamlessly. Although it is an insecticide, it is safe to use around house pets. Kohinor insecticide 350SC is a more direct approach if the organic option does not work for you. They have a large range of super products for various insect problems. Remember: These insects can attack your chilli plant at any time, growing stage, or as an adult plant.

What Is Eating My Peppers?
Tobacco hornworm, Angle shades moth caterpillar, Beet armyworm and the pepper weevil are the most common. Most, if not all of these pepper caterpillar / worms will munch on both the fruit and the leaves of your pepper plant. You will know they’ve been there because there will be large visible open scars on the peppers and leaves.

Angle shades moth caterpillar

Tobacco hornworm

Beet armyworm

Pepper weevil
Aphids
Aphids (sometimes called plant lice) are small (though they can vary in size quite a bit) insects that feed on plants mainly in temperate regions. They quickly multiply and can be very destructive, usually feeding on regions of new growth on plants.


Aphids
Final word
Have patience. Germination can take a long time. It is said that the hotter the chilli, the longer the germination process takes. So be patient. Overwatering and underwatering are equally as bad. But, word of advice – rather underwater your chilli plants than to give them too much water. Root rotting will kill your plant. When your plant is dying of thirst, it will show you. The leaves will sag and the whole plant will literally look like it’s dying. But it’s not. As long as you give it water within a 12 hour period after showing you that it is in need of water, it will be just fine. You will see the difference within an hour after watering it, believe me. Work out a watering schedule. This depends on the size of the pot that your plant is in. Also the season. Hotter months require a bit more frequent watering. Maybe a thorough watering after every 4-5 days. Or even just a light watering every 2 days or so. You’ll get to know your plants and its watering needs. Your first flower buds will fall off in the beginning, especially if your plant is still young. Don't be alarmed. This is normal. Before you know it, your first chillis will appear soon after. The following is debatable: A chilli plant either grows, or it produces fruit. It doesn’t do both at the same time. If you see that your chilli plant is producing white blossoms (even peppers) whilst it is under 50cm tall, it is highly advisable and recommended to pluck off all of the flower blossoms. You may ask “Why? I am so eager to have my first chillies” As explained above, a chilli plant either grows, or produces chillies. Wouldn’t you rather have a healthy and strong plant that will make it through the winter season and produce hundreds of juicy chillies thereafter? Or do you prefer a small plant that bares fruit but has a high probability of dying off because of the cold temperatures?
